How To Make A Doughnut Wall
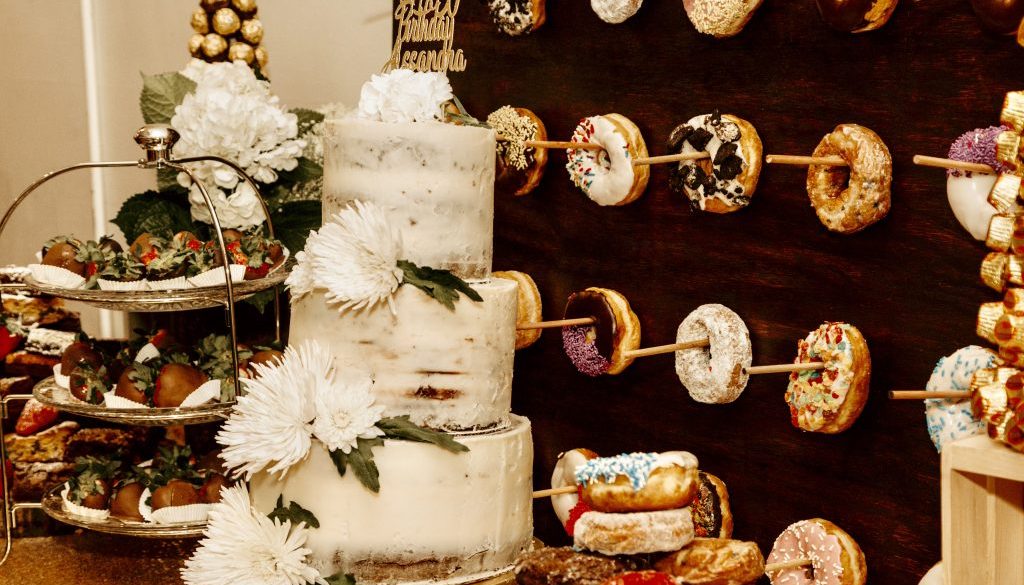
Doughnut you just love doughnuts? We are a bit crazy for these fluffy fried treats, and when planning my beautiful Sister-In-Law’s surprise 30th I wasn’t satisfied with the selection of doughnut walls at the craft stores near my home. Because I like to put a lot of work on myself, I decided to make one myself! If you are thinking of creating one, it really isn’t that difficult, and I hope this will help you too!
Believe it or not, the hardest step in planning this doughnut wall was deciding on the base. At first I toyed with the idea of wainscoting, but I didn’t want it pre-painted. Ali’s theme was rustic, so I wanted a dark stained wall. I also toyed with the idea of purchasing individual panels and gluing them together, but I found they fell apart easily when propped up.
After a trip to Lowes, I found cut plywood of various sizes in the lumber department. I wanted the doughnut wall to really shine and be the backdrop for her dessert station, so I decided to get the 4’X4′. With the help of a considerate associate, we got it in my SUV (he even removed my car seats, and helped put the second row down!).
Ah, glorious fresh plywood. Just kidding! It doesn’t look so refined without a stain, but I proceeded all the same. The next step involved measuring and marking where I would put the dowels. Dowels can be purchased at any craft-store; I picked up wood dowels that came in a package of 48.
I measured out where each dowel would go, using a pencil, ruler, measuring tape and a leveler. This step takes some concentration, and it is important each doughnut is equidistant. Be prepared to sit for an hour at least!
After marking up my board, I used a dremel to drill where each dowel would go. As a general rule of thumb, I would drill for a little bit, and then stick my dowel in to gauge how deep the hole should be. Sounds like a precise science right? Hehe!
After all my holes were made, I sanded and sanded and sanded the plywood. I also sanded the edges of the board to prevent any splinters from sticking out.
Next, I stained the board! I applied two coats of a dark mahogany stain. You can really choose any stain you want, but I just love dark wood and thought it would look great at the venue we chose for Ali’s party.
To make this doughnut wall look super custom, I painted wooden letters in gold and Ali’s favorite color and glued them to the top of the doughnut wall: “Sweet As Ali.” I used gorilla wood glue and they did not budge once!
Because we had to travel with the doughnut board, I didn’t attach the dowels to the board until after we got to the venue. This was a little risky, as there’s always a possibility of traffic, unexpected humidity at the venue, etc. Actually, both happened but we made out OK!
Hope your DIY project goes smashingly!
Love,
Lana


